It's been way too long since I've posted on my blog! A month ago we had the lovely wedding of our daughter and new son-in-law, and now we've moved on to lambing here on our farm.
Emily was our first child to marry, and throwing a wedding was time-consuming, but something that I thoroughly enjoyed! In the next few posts, I will focus on some of the DIY projects we did for her wedding.
First, here are the invitations we designed. Invitations have changed considerably since my husband and I were married 30 years ago. No longer are they necessarily ordered from a company with 2 envelopes, the paper liner, and as formal as they used to be. Many brides just use postcards or even wedding websites to correspond with their guests. We designed these on my computer using various graphics and fonts, and ordered them from
Overnight Prints. I am crazy about this company and all of the products and great prices that they offer! I used textured navy cardstock and made folders with a flap to hold the RSVP postcard, an info card, and an engagement photo of the couple. It was tied up with ribbon.
With shipping included, 125 5x7 invitations, 125 4 x 6 RSVP cards, 125 business card size details card, and half-size business card name plates for the front of the invitations was less than $75!
Other postcards we made and ordered from Overnight Prints include Emily's December Bridal Shower invitations.....
.....Wedding programs......
.....and thank you cards......
There is one other thing we ordered from Overnight Prints, which was a super good deal! Emily and I loved the chalkboard look, and before I realized that it was possible and really fun to make chalkboards, I ordered a poster sized print of a chalkboard that I designed on
PicMonkey. It was super fun to make!
PicMonkey is a great website for altering photos. To make this, I looked online for a chalkboard background and found one in a large resolution. I trimmed it on PicMonkey to be the start size that Overnight Prints suggests for their posters. (These posters were only $2.99 at the time I ordered - and that's a big 18" x 24" size!) Next I downloaded fonts that I liked free on the internet. Below are some great free fonts, and you can find out how to download them
here.
Anyway, from PicMonkey, you can use their fonts or your own. Arrange your chalkboard how you like using the fonts and graphics of your choosing. Change them to white. Once the poster arrived, I mounted it on some stained wood and rubbed over it with some chalk to make it look more like it was hand-lettered.
Like I said, "before I realized that it was possible and really fun to make chalkboards.....", in my next post I will show you and tell you how I learned how fun it is, (and how easy too!) to make some cool looking chalkboard art.
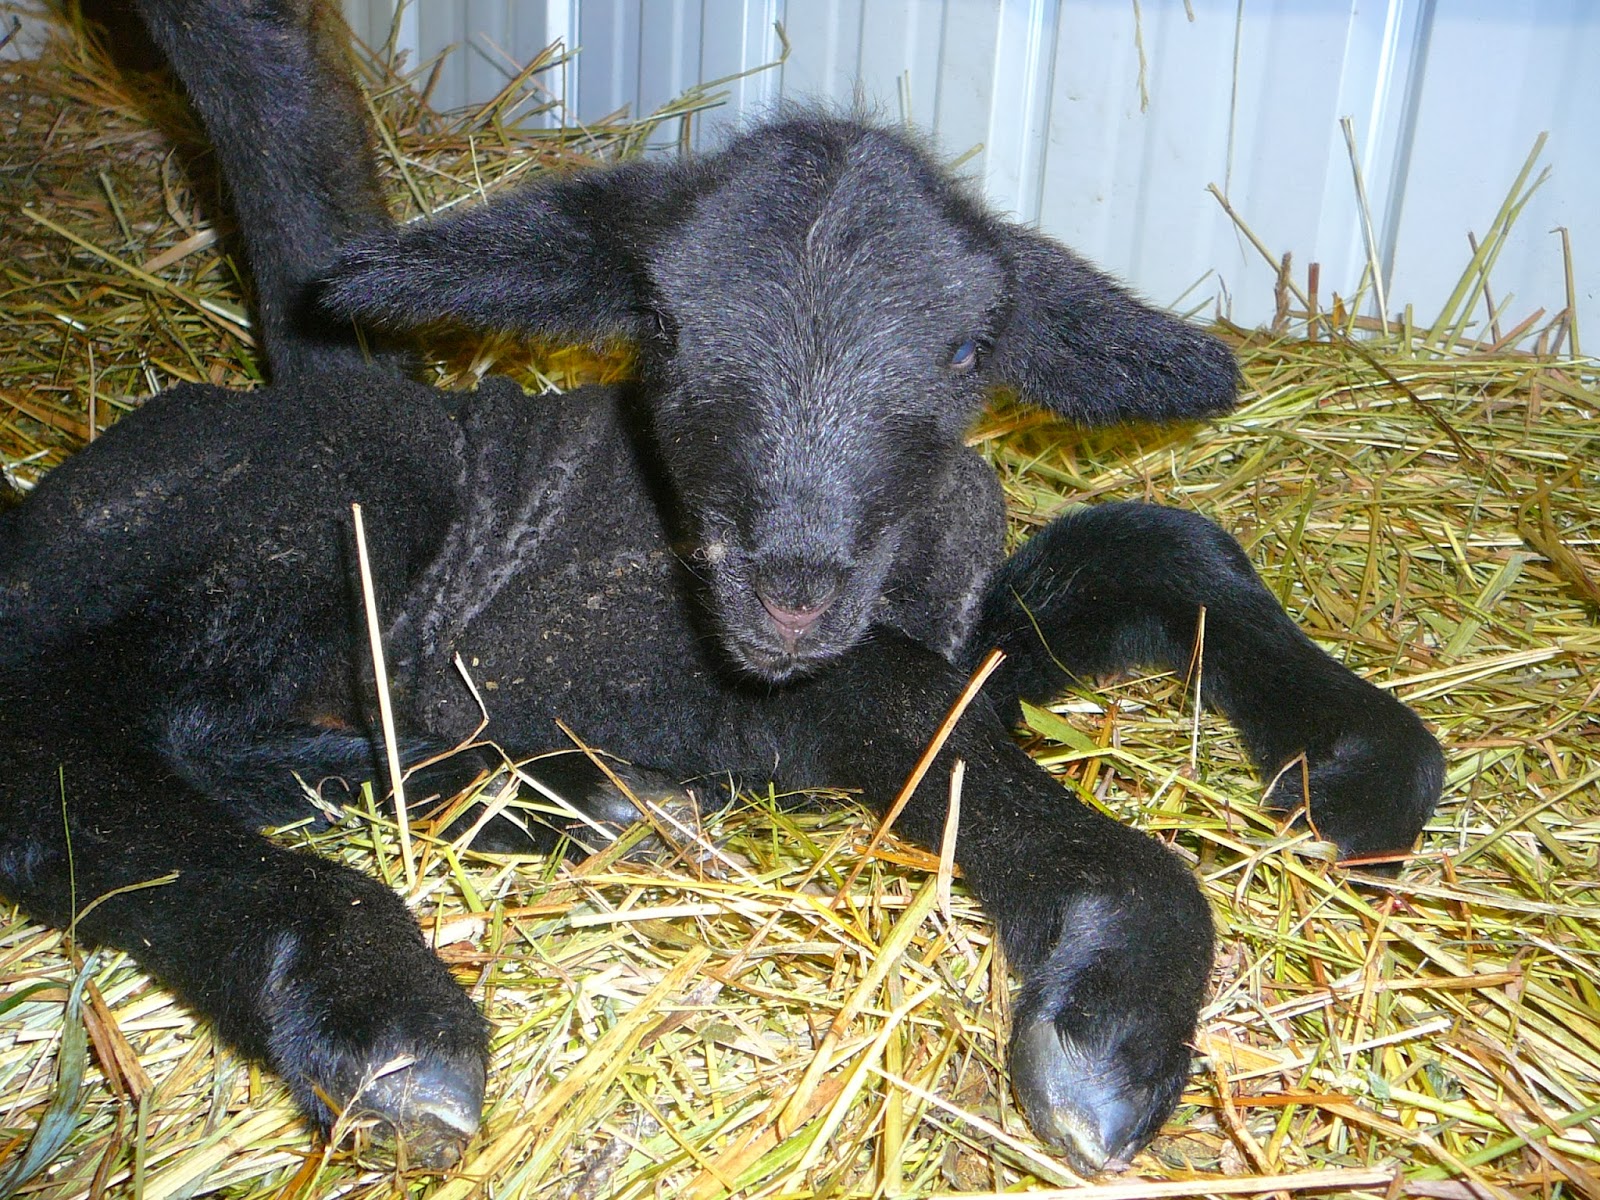
Oh yes....I mentioned it is lambing time here on the farm. We have currently 9 little lambs (5 born in the last 2 hours!) Here is a photo of Emily with a lamb this evening. (While she is married now, and lives in an apartment in town, you can't take the farmgirl out of the farm, and she's back for her farm fix lots....much to our great happiness!)
Primitive blessings,
Laurie


.JPG)


.JPG)

